Tutorial on creating personalized cards
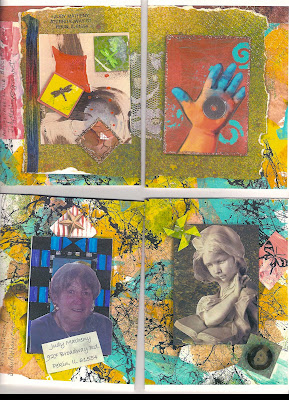
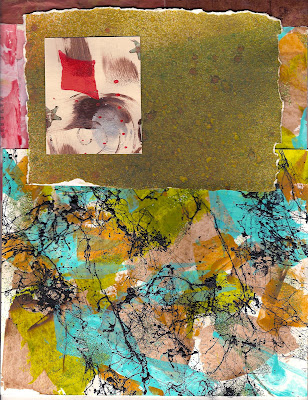
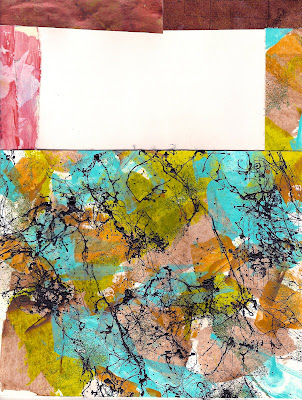
I needed cards to mail my ATCs and other art swaps so I thought I'd share with you a way to show your art work and economically make a personalized card. So grab a piece of cardstock and a piece of computer paper. Gather your scraps and card size art work or collaging material. Fold your computer paper in half horizonically and vertically. You will just be using this as a visual template. In making the card your focal points will be on the right side of the vertical page for the front of your card and the back will be on the left side. You will make two cards on one piece of cardstock. So you will want 4 focal points- one for each quarter of the cdstk. I made a piece the other day using paint scrapping and added black Krylon web spray so I'll incorporate it and a scrap border after doing a visual dry layout ( no glue yet) to see how it will look.It's ok if it hangs over the edge of the cdstk.I use my template paper to find the halves and centers.
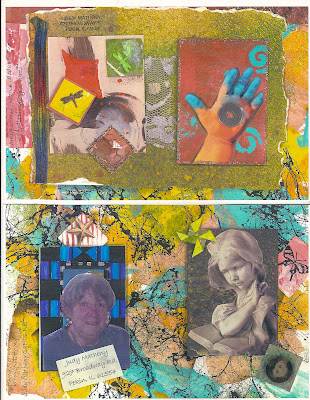
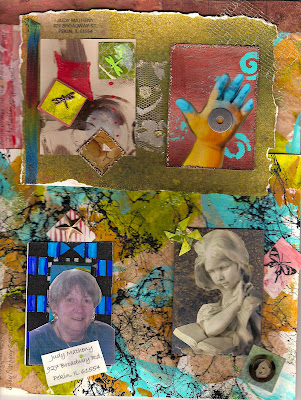
Next I fill in with more scraps and my focal points. I now use tape or a dab of glue to hold in position. Now I add an address label, my blog address, and on one my picture - all on the left sides of the quarters as they will be the back of rhe cards. I finish by embellishing. So I have used my ATCs and inchies for focal points. You can use fabric, thread,ribbon, whatever your heart desires.When satisfied with the results I take it to my local copy shop and have 50 copies made on cardstock on the color copier. It costs me .45 per page . Each copy has 2 cards on it so that woild be 22.5 cents per card. Add in a box of invitation sized envelopes from
Walmart and you gave a nice piece of mail art. I cut them in half horizonally and fold. Ready to go!!! I'd love to see your cards so email me for my address and mail me one .JudyMatheny@grics.net
All the pictures are backwards so if you start at the bottom left and work your way up you'll be able to follow my directions. I can keep my mastercopy or disassemble it by just using tape or a bit of gel to tack it together. I like making a new one each time.
I tried to turn my comments back on again- I hope it worked.
The top photo is of 4 cards folded to show the fronts and the backs .
